📚 Getting Started withe the Nucleo-G0B1RE and the STM32G0B1RE MCU
🎯 Learning Objectives
By the end of this lesson, students should be able to:
- Be familiar with the navigation of the documentation for the platform
- Identify the difference between the development board and the MCU
- Be familiar with the concept of register in a microcontroller and how to use it
1️⃣ Introduction to the Course
Welcome to CMPE1250, where software meets hardware in the most hands-on way. This course is your gateway into the world of embedded systems, where you’ll learn how to control physical devices—like LEDs, sensors, and motors—by writing code that directly interacts with the microcontroller’s internal registers (bare-metal programming).
2️⃣Tools and Platform
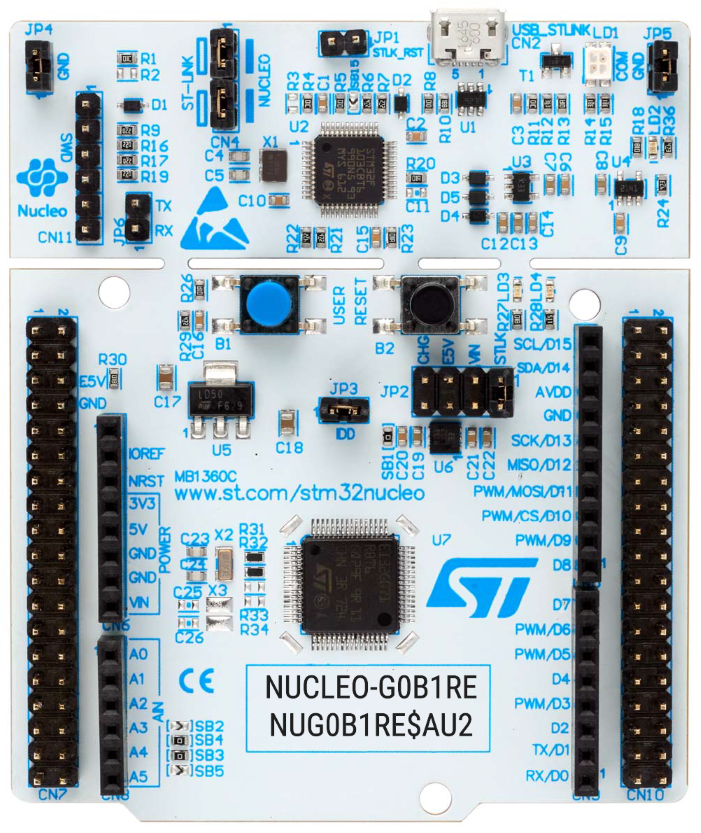
- STMicroelectronics Nucleo-G0B1RE development board
- STM32G0B1RE microcontroller
- Segger Embedded Studio IDE for writing and testing your code
- J-Link debugger (SWD)
3️⃣ Development Board Resources
- Development board Schematics: Introduction to Embedded Systems
- Development Board User Manual: Basic Microcontroller Programming
4️⃣ MCU Resources
5️⃣ First Steps
Your journey begins with something simple yet powerful: blinking an LED. This classic embedded systems exercise teaches you:
- How to configure GPIO pins
- How to manipulate registers
6️⃣ What Is a Register in a Microcontroller?
A register is a small, fast-access memory location inside the microcontroller that stores data used to control hardware behavior.
🔍 Key Characteristics:
- Located within the MCU, it has an address just like memory
- Accessible via software: You can read from or write to it using C code.
- Modifiable by hardware: Some registers change automatically based on hardware events (e.g., timers, interrupts).
- Used for control and status: Registers configure peripherals like GPIO, timers, UART, etc.
💡 Example:
To blink an LED, you might:
- Set a GPIO register to configure the pin as output.
- Write to a data register to turn the pin high or low.
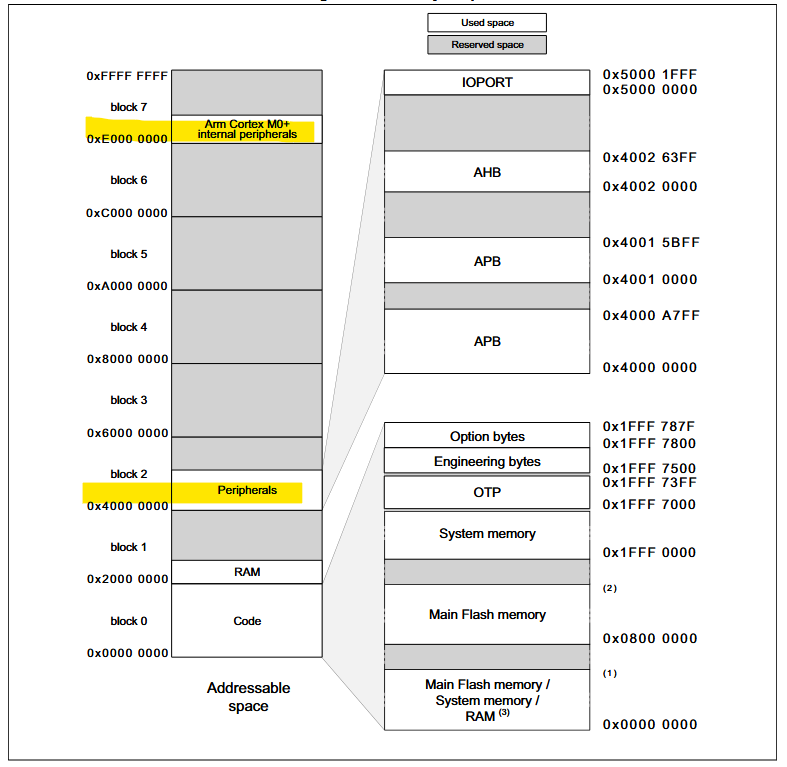
Memory Map